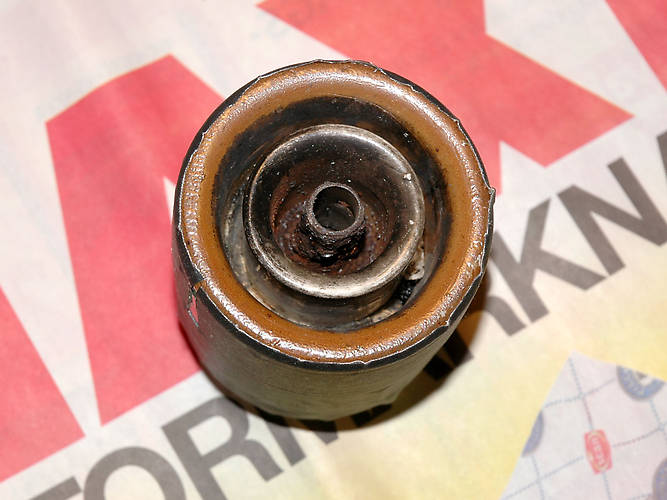
Pin removal in an old Varley insulator - step 2
By Fredrik Höjefält; posted November 16, 2009
View Original: Click to zoom, then click to magnify (1600 x 1200) 224KB

|
After the insulator had been securely clamped in a wise fastened in a heavy industrial drill, the pin was drilled out in the centre with drills of increasing diametre. Important! add plenty of cooling fluid to avoid overheating the drill and pin! Drilling was done until I estimated that the amount of metal left was pretty thin, plus that I did not want to risk to drill in the insulator itself. If you look close, you can see holes in the metal some distance down. This is due to the heavily corroded outside of the pin, its surface being thinner in more corroded areas. It is very difficult to drill in such way that the hole becomes 100% centered in the pin. But thanks to the hole being slightly offset, one side of the remaining pin now is very thin. It is in this very spot we will concentrate our work and attack the metal!! |