Building an Insulator Display Cabinet
By Bill Ostrander
Building an Insulator Display Cabinet
By Bill Ostrander
I had filled my window shelves with all my favorite insulators, and was having to relegate "lesser" insulators to the storage boxes each time I got a new insulator. I also got a yellow California, and didn't particularly want to keep it in the sunlight. So, after being encouraged by all the discussions on ICON, and having seen Scott Morrell's success with his cabinet project, I decided to build one of my own.
My Goals
What I wanted as a finished product was an oak case with glass doors, on a cabinet base (for storing insulator books) that was backlit with a choice of either bright fluorescent lights, or halogen lights on a dimmer. The fluorescent lights are great for viewing the insulators, but too bright for a normal room. The halogens fill that role nicely.
The Budget
It's a good idea to budget ahead of time. I didn't. I found an oak bookshelf on sale for $150 that I wanted modify for insulator use. I just guessed it would take another $100 or so to do what I wanted. This is what it wound up costing so far. I still don't have the glass doors or cabinet base!
1. Oak bookshelf 5' tall, 30" wide, 12" deep. $150
2. Fluorescent lighting (4-bulb e-ballast, sockets, bulbs) $60
3. Halogen lighting (Sunspot Halo x6, dimmer) $60
4. Misc. electrical $10
5. Molding, shelf hardware, brass screws/bolts $40
6. 27" x 57" 3/16" Lucite $110
7. 11 28" x 5" x 1/4" tempered glass shelves $80
Total: $520
I estimate that the glass doors will run me an additional $80 or so, and the cabinet base will probably be around $200. That would make a total of $800. The finished product will be first-class, but quite a bit more than I had figured on.
Construction
| This is the bookcase. I've painted the part that will be behind the light diffuser to try and even the light distribution. |
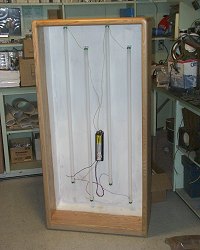
| Now I've mounted the fluorescent lighting. Notice how I staggered the lights to try and eliminate "hot spots" behind the diffuser. I chose an electronic ballast to keep the temperature down, and to eliminate any noticeable flicker from the lighting. The bulbs are designed for that type of ballast, and were chosen for a bright neutral-white color. |

| Now I have the halogen lights installed. These were designed for mounting under a cabinet, such as in a kitchen. The lights themselves are low-voltage, and are operated with two transformers, located in the upper center of the cabinet. |
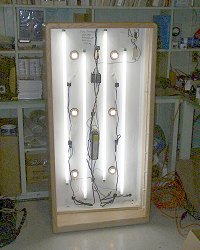
| The wiring is complete. I mounted the fluorescent light switch and halogen dimmer along the side on the back for easy access when the cabinet is up against the wall. Not shown are 2" holes I drilled at the bottom and top of the cabinet to provide ventilation. I covered them with window screen to keep the bugs and mice out. |
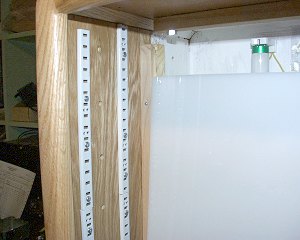
| Now I've mounted the shelf rails on the side, and made side strips with a groove for the light diffuser to fit. I chose to use lucite, as it is not as brittle as other plastics such as acrylics, and it diffuses light very well. In fact it was purchased from a commercial sign shop. The disadvantage is that it's very expensive! |
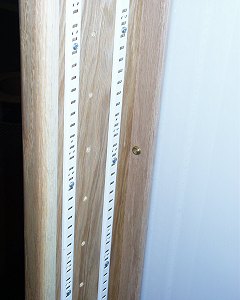
| Now I put an oak strip to hold the diffuser in place. Access to replace lighting is from the front of the cabinet. |
| I decided to use 1/4" tempered glass shelves, custom made here in Medford by Farrell's glass. I used the sticky foam pads they are delivered with to pad the shelves from the brackets. I screwed the brackets into the sides of the cabinets with wood screws. |
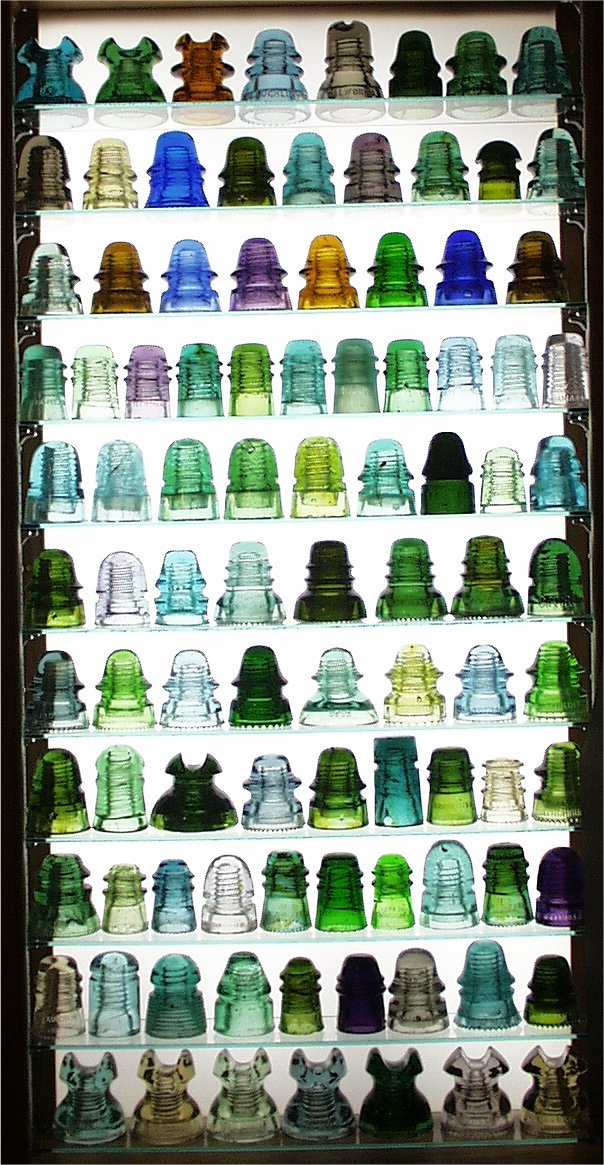
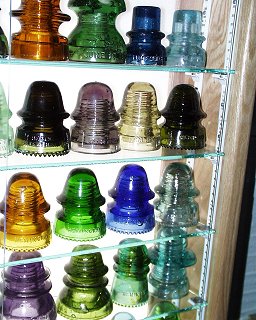
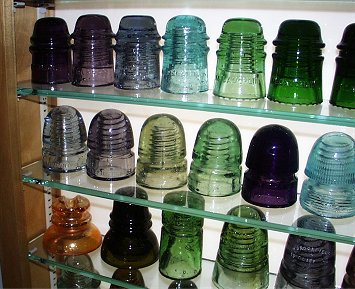
| Here is the almost-final product. Now, when my budget can afford it, I will put on some glass doors, and bolt the display case to a low cabinet with doors on it...something like an oak TV stand. It will be as wide as my display cabinet, but will stick out about 10-12" in the front. That will help stabilize the cabinet (it's a bit front-heavy), and give me a place to store all my insulator books. |
|
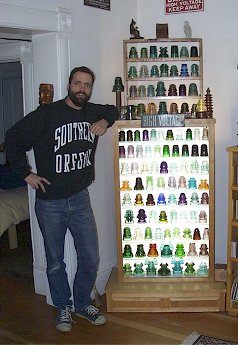
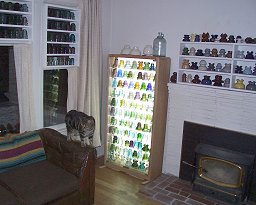
Here is Scott with his cabinet. It was after seeing Scott Morrell's display cabinet that I decided to build one for myself. He built his from a rifle cabinet. He also used a lucite diffuser. He used shorter fluorescent bulbs mounted horizontally. His cabinet is very stable mounted to that base. |
| He opted to go with 3/8" tempered glass for the shelves. Scott bolted his shelf strips into the side of the cabinet instead of using wood screws. |
 | I've finally installed the glass doors. They did cost $80 for both of them. I went with 1/4" tempered glass. I still haven't found a matching oak base...all the ones I've seen so far are not the right size. |
| I was worried that the glass doors might be too distracting or reflect too much glare, but it was easy to get used to. | 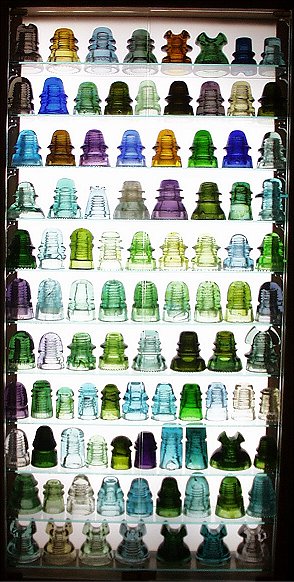 |
 | I was finally able to find the right sized base for the cabinet. The whole assembly is now very stable. |
Last Updated September 1, 2003